
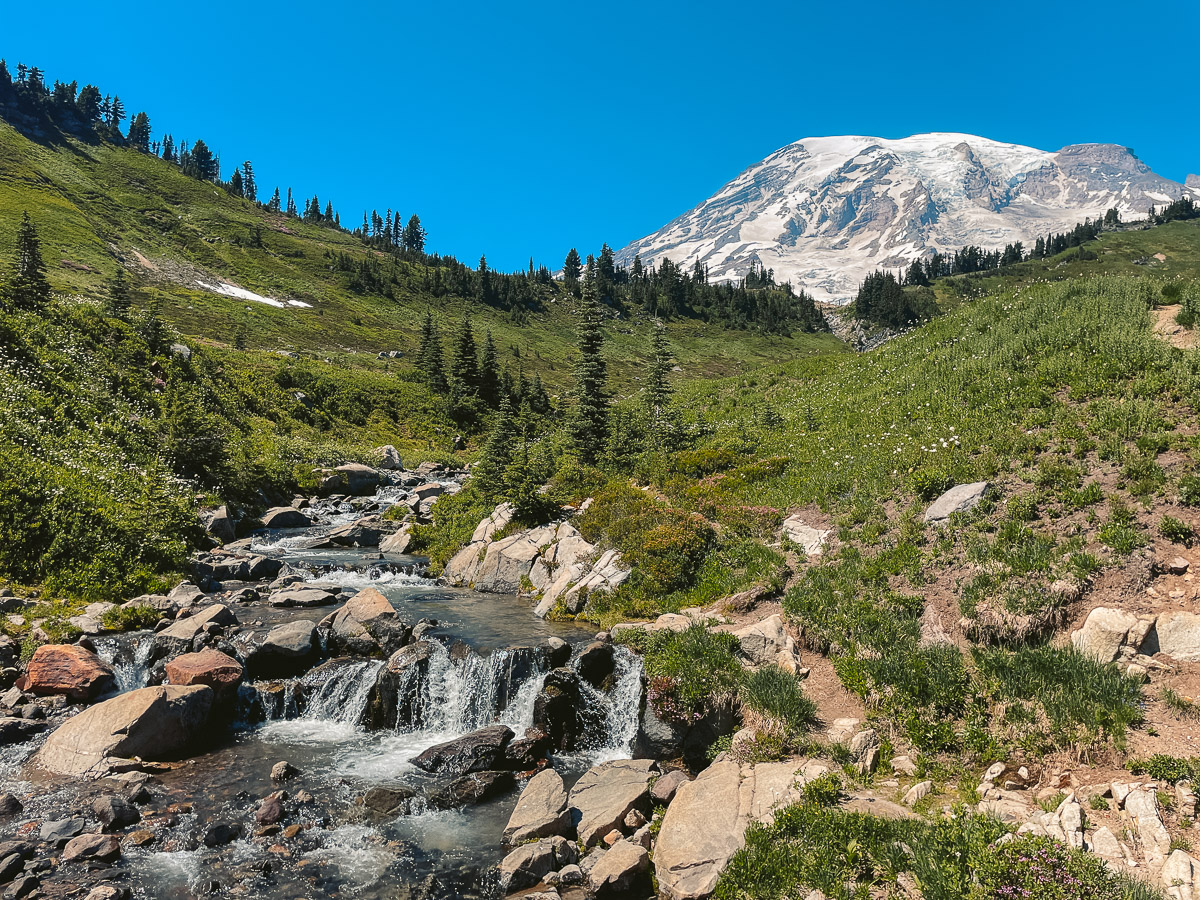
Is the Skyline Loop Trail at Mt. Rainier Worth the Hype?
Some of the links in this article are affiliate links. I may earn a commission by clicking these links, which helps me create more free travel content for everyone. For more information, check out my cookie policy.
While living in Seattle for four months, we were greeted (weather dependent) every morning by the lovely Mt. Rainier. We knew we had to get closer to this stunning volcano peak and one of the best and easiest ways to do that was on the Skyline Loop Trail.
This is a shorter and relatively easier hike than most of what we did during our time in Washington. That didn’t take away from the beauty that we were surrounded by.
Mt. Rainier National Park is one of, if not the most popular, attractions in Washington. With that being the case, there were a lot more people along the trail than we would have liked.
We arrived at the trail a little later than planned, and if you want to avoid the crowds, I suggest showing up right at the crack of dawn.
In this guide, I’ll give you all the information you need to make your visit to Mt. Rainier National Park and hiking the Skyline Loop trail the best it can be.

Why the Skyline Loop Trail Is Worth Your Bucket List
Whether you’re going just to take in the views or you want to also enjoy some hiking, visiting Mt. Rainier National Park is a must.
Skyline Loop Trail is great for beginners due in large part to how defined the trail is and having the ability to take your time.
It’s also a great way to see the park if arriving late. I suggest camping near the park to get the most out of it that you can.
It’s easy enough to do when driving here after doing other hikes in Washington, like Snow Lake or Colchuck Lake.
An Iconic Viewpoint Like No Other
There are two viewpoints that were my favorite along the Skyline Loop Trail.
Some of my favorite views weren’t even of Mt. Rainier itself but of the view of the mountain range down below.
- Panorama Point Overlook: This is a very popular viewpoint along the trail and I understand why. There’s a lot of room to sit down, even if there are a lot of people on the trail. You get 360 views of Mt. Rainier and the other mountain ranges around the park.
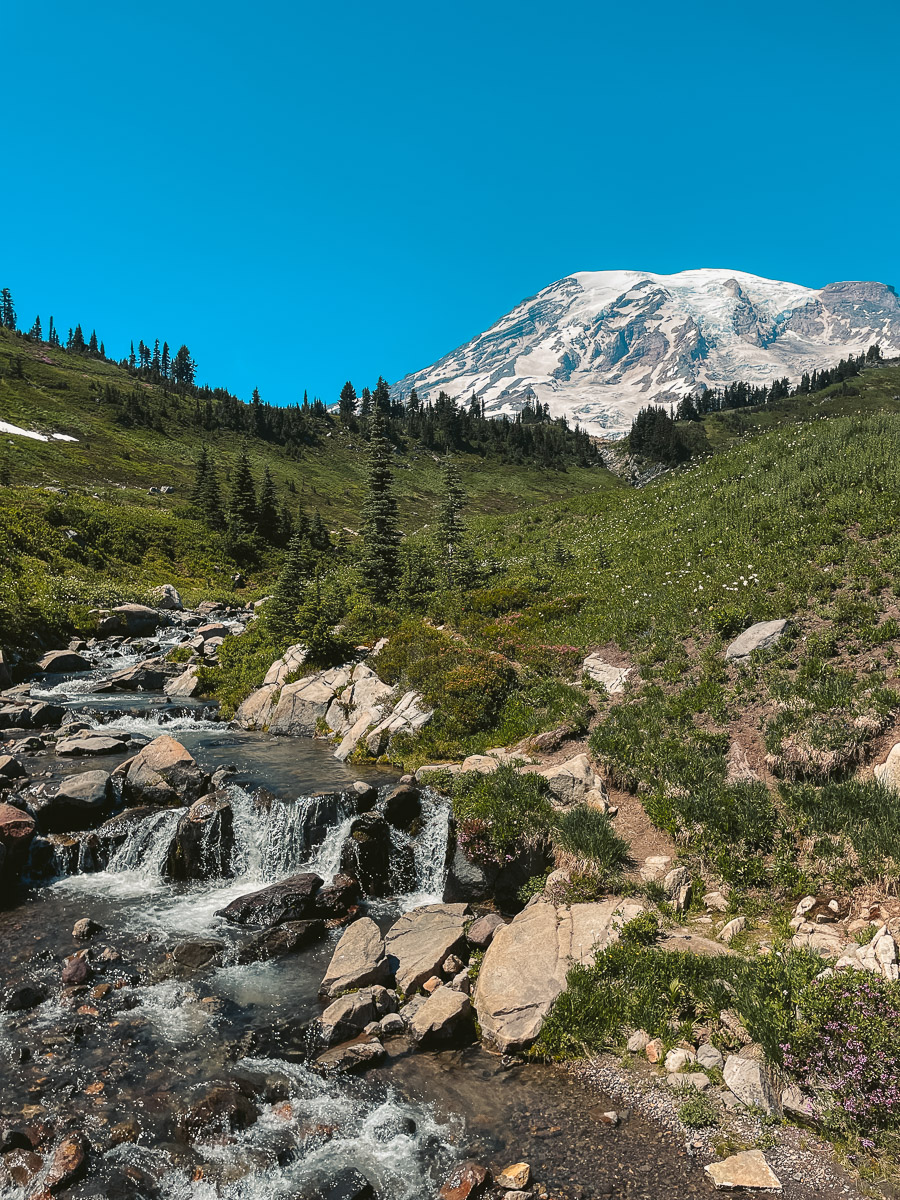
- Myrtle Falls: This epic viewpoint will be at the end of your hike if we decide to go clockwise, like us. If you want to see this viewpoint early, then going counter-clockwise is your best bet. You’ll cross a bridge that has a majestic river flowing down with Mt. Rainier in the background.
What No One Tells You About Hiking Skyline Loop Trail
Skyline Loop offers stunning views and an abundance of wildflowers on a short hike, all things considered. But here are some things that not everyone will tell you.
It Might Be Tougher Than Expected
While I consider this hike beginner-friendly, there are details about it that might make it harder than you think.
If you’re not used to high-altitude hikes, then you might be out of breath during certain portions of the hike. The max elevation you’ll reach is 7,051 feet or 2149 meters.
While that type of altitude isn’t high enough for you to feel altitude sickness, you could be feeling tired. The possibility of having heavy breathing is higher.
This shouldn’t deter you from attempting this hike but luckily, there’s plenty of room along the trail to take breaks.

Skyline Loop Trail Details in Mt. Rainier National Park
| Detail | Info |
|---|---|
| 📍 Location | Paradise, Mt. Rainier National Park, Washington |
| 🧭 Trail Type | Loop |
| 📏 Distance | ~5.5 miles (8.9 km)(Alltrails.com) |
| ⛰️ Elevation Gain | ~1,700 feet (518 m) |
| 🔥 Difficulty | Moderate to Strenuous |
| ⏱️ Time Needed | 3 to 4.5 hours |
| 🚗 Parking | Paradise Visitor Center (fills early!) |
| 🚻 Bathrooms | Available at trailhead (Paradise VC) |
| 💧 Water Access | No potable water on trail – bring your own |
| 📸 Top Viewpoints | Panorama Point, Myrtle Falls, Edith Creek Basin |
| 🐿️ Wildlife Sightings | Marmots, deer, mountain goats, chipmunks |
| 🌸 Best Season | July to early October (wildflowers peak late July) |
| 🥶 Trail Conditions | Snow often lingers into July – check current status |
| 🐕 Dogs Allowed? | ❌ No, not allowed on national park trails |
| 🗺️ Permits/Pass | National Park Pass required for entry/parking |
| 🧥 What to Bring | Layers, sun protection, hiking shoes, camera, snacks, map/GPS |
My Full Experience Hiking the Skyline Loop Trail
We knew about Mt. Rainier before we arrived in Seattle but once we saw it, WE KNEW we had to visit the park as soon as possible.
That’s why we decided to visit the National Park in July for the best chance of having a sunny day. This also meant larger crowds and typically longer wait times for entry into the park.
Arriving at Mt. Rainier National Park
To no one’s surprise, we left a little bit later from Seattle than we would have liked. We were camping one night in the park, so we weren’t too stressed but it still wasn’t ideal.
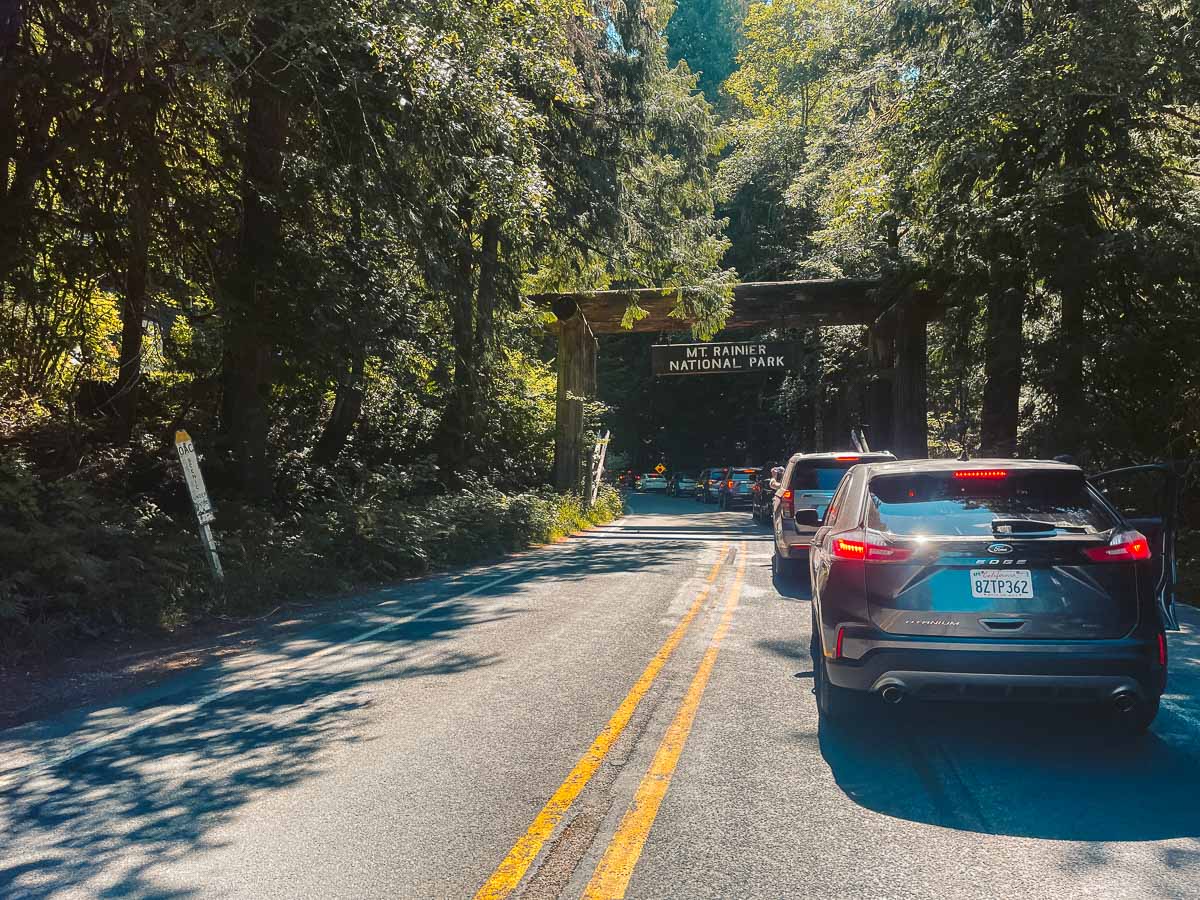
We arrived at the Mount Rainier Welcome Sign at around 1:30 pm and surprisingly, the line wasn’t too bad getting in. It only took us 10 minutes or so to get through.
It helped that we went during the week on a Tuesday but I was still expecting there to be more traffic with it being the middle of the summer.
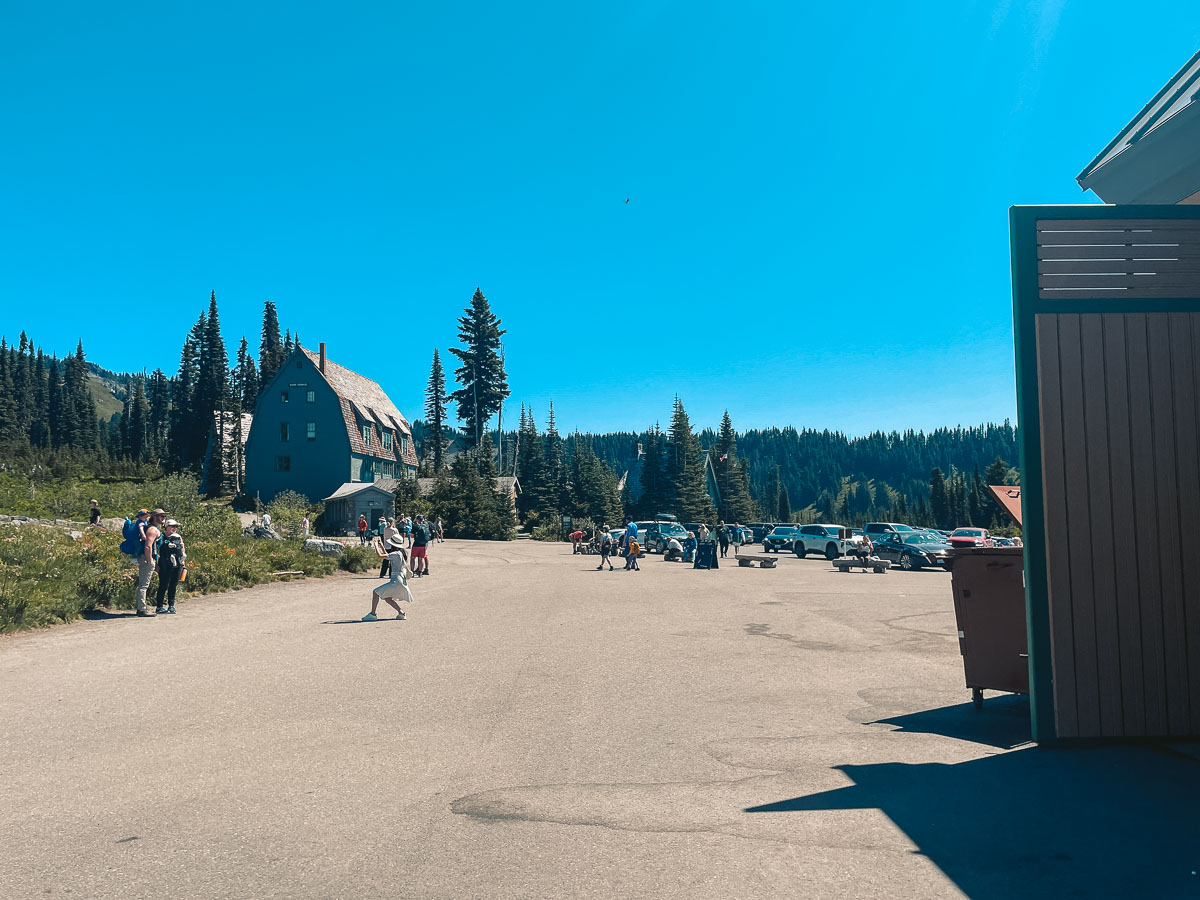
After passing through the entrance, it was still another 30-minute drive until we reached the Henry M. Jackson Memorial Visitor Center.
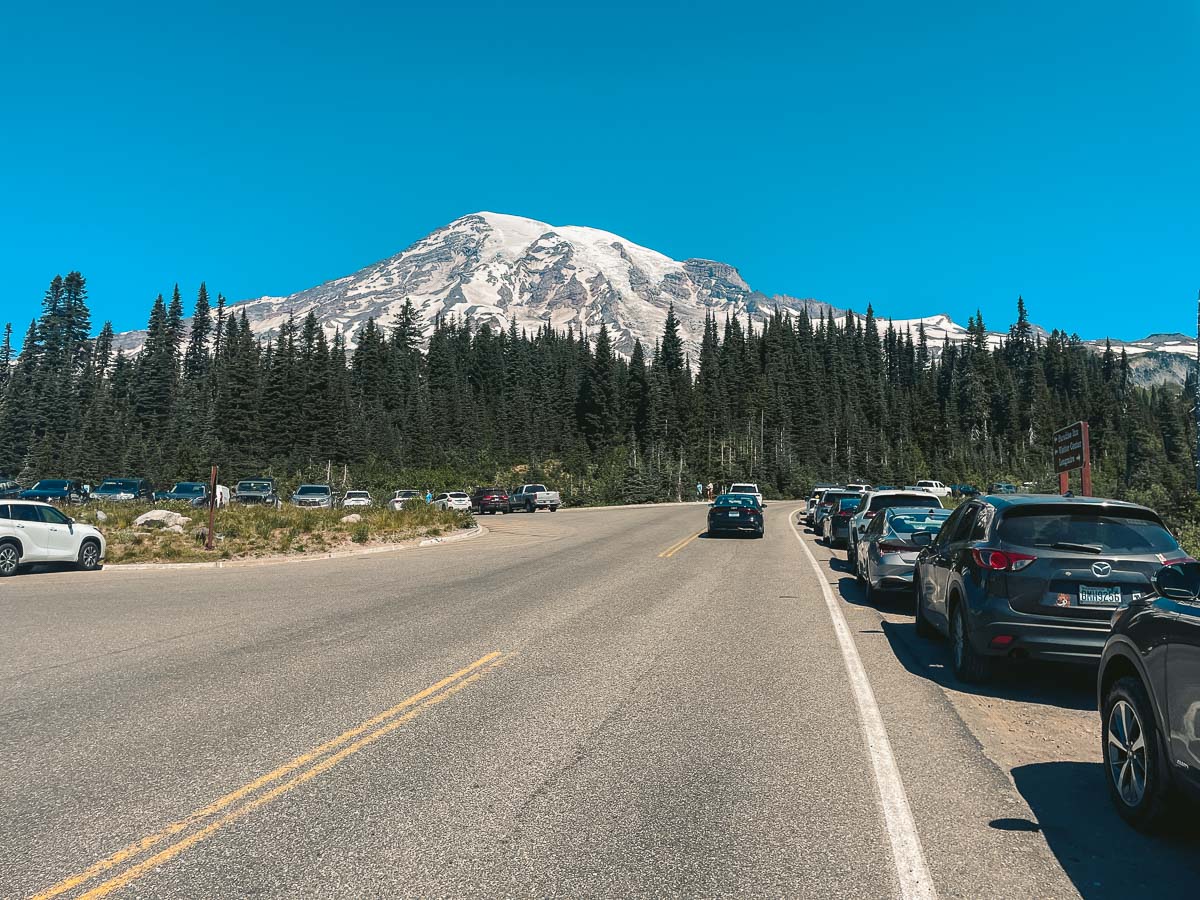
Since we arrived late to the park, there wasn’t any available parking at the visitor center. Instead, we had to find a parking spot slightly down the road near the Paradise Lower Parking Lot.
Starting the Trail Clockwise
When we were deciding whether to go either clockwise or counter-clockwise, we read some comments that said going clockwise was more picturesque.
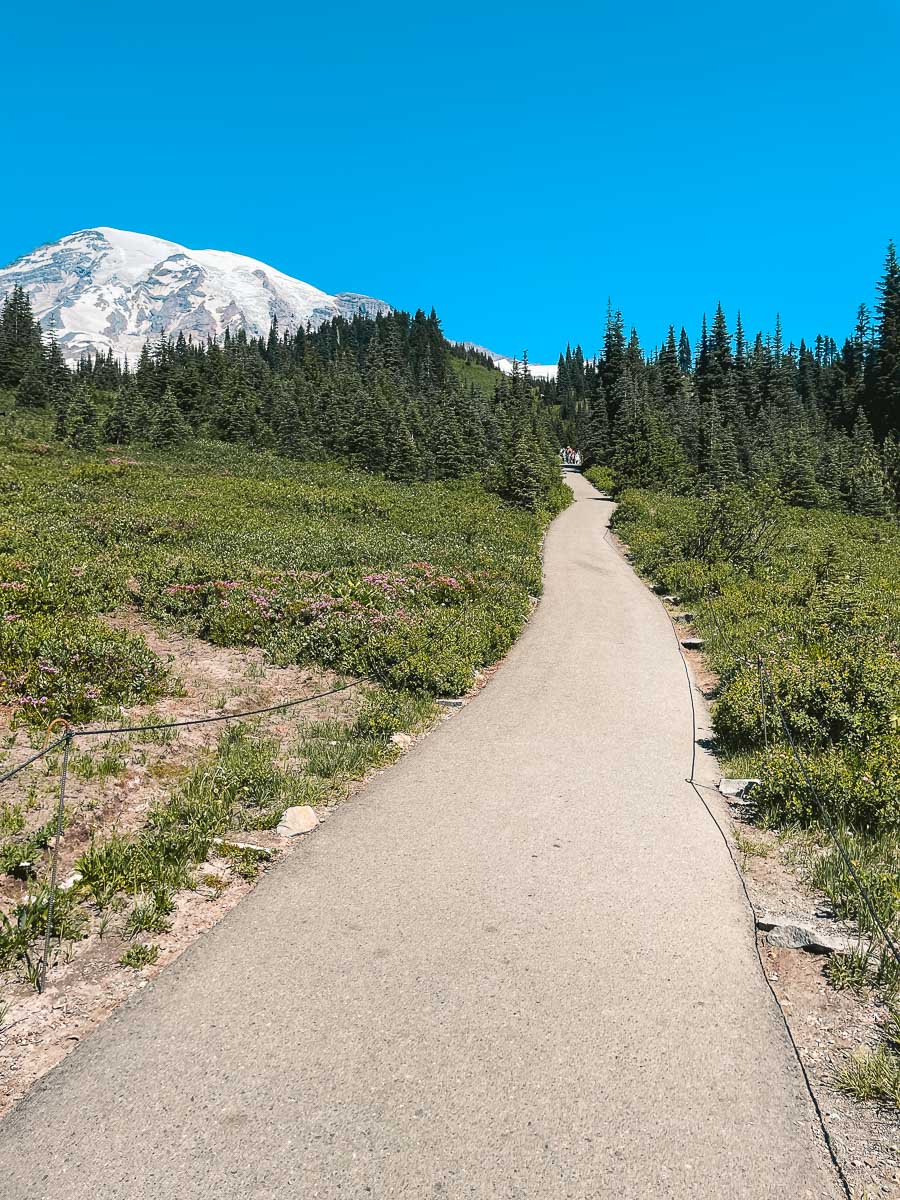
That seemed to be true from what we saw during our hike. The early part of the Skyline Loop trail, when going clockwise, starts on a fully paved path.
This was a nice warmup after our car ride. It can be a struggle sometimes getting out of the car after a couple of hours and immediately starting to hike.
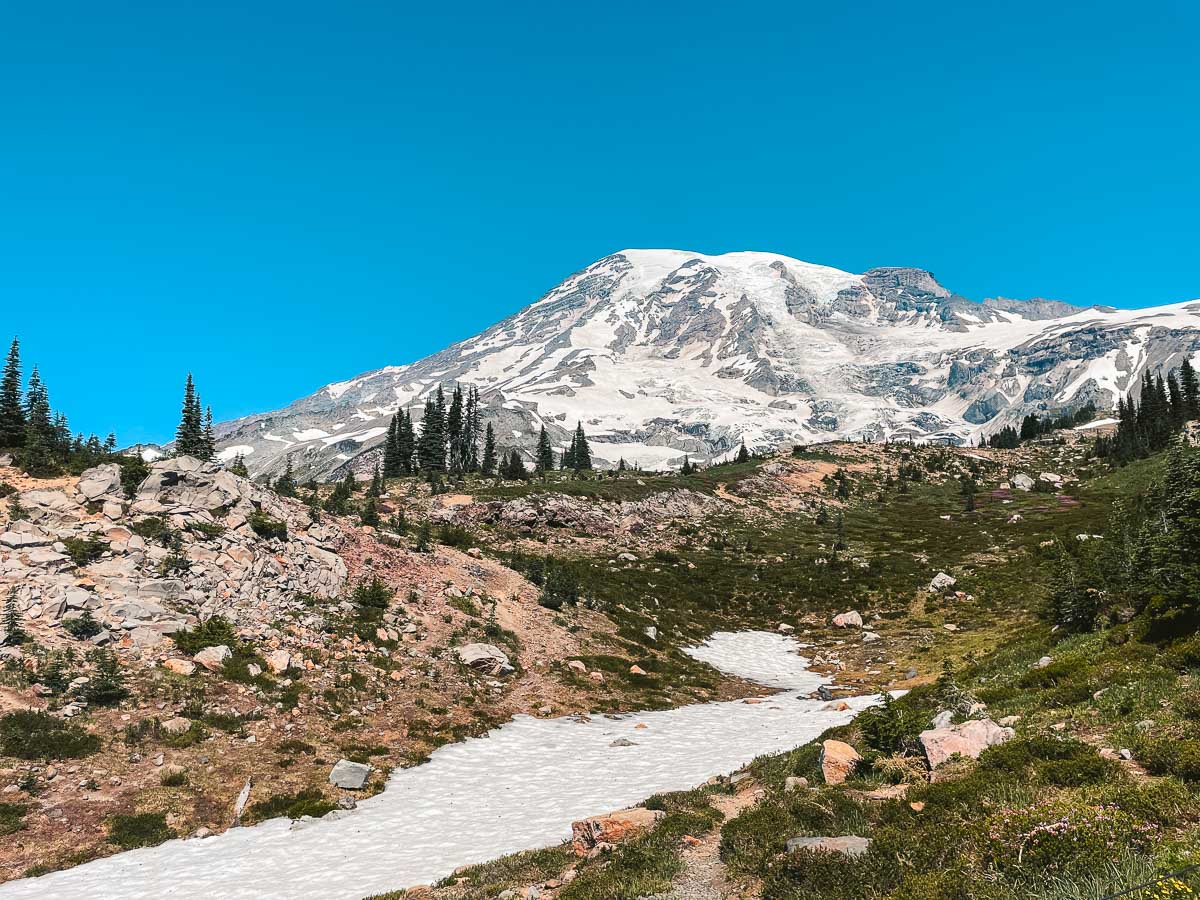
The views along this part of the Skyline Loop Trail will blow you away. It felt like we were hiking straight up to the summit. That’s how huge Mt. Rainier looks when in the park.
As were were hiking through this area, we would see some snow patches here and there. This would become foreshadowing for a little later in the hike.

Hiking through Some Snow
Depending on what time of year you visit Mt. Rainier National Park and hike the Skyline Loop Trail, you might come across sections where you’ll have to walk through some snow.
We arrived in mid-July, and there was still a small section where we had to hike through some snow. To us, this wasn’t a big deal and made the trail feel more adventurous.
We didn’t need any spikes or crampons as this section didn’t last too long. From here, we continued to hike up until we reached the panorama point overlook, where we sat down and had lunch.
The views, when looking back at the mountains behind us, were breathtaking, and it almost made us forget that we were hiking right next to a large volcano.


Heading down Towards the Visitor Center
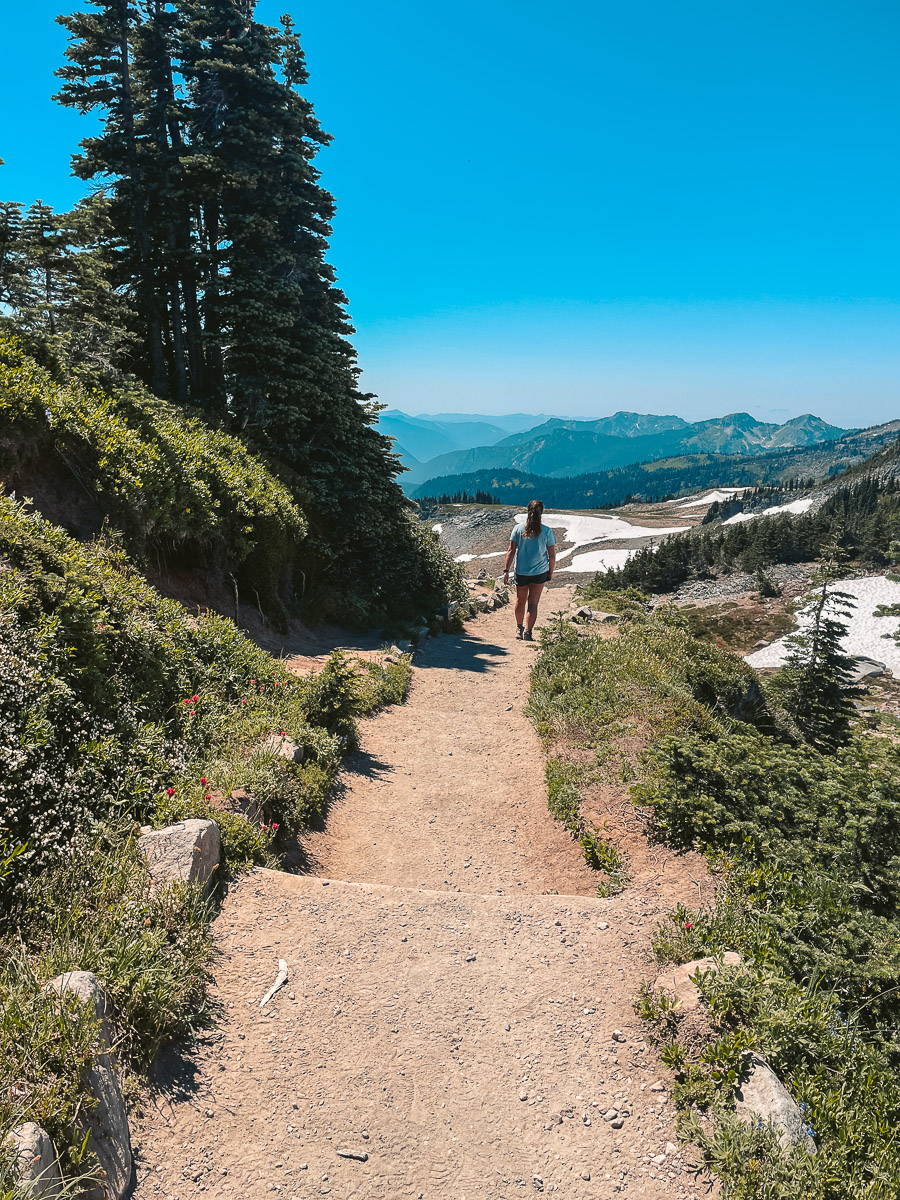
Shortly after we ate lunch at the Panorama Point overlook, the trail began to descend. We would be going downhill the rest of the hike until we arrived back at the Visitor Center.
The views were still stunning on their own but nothing will beat the view of Mt. Rainier.
After descending down the Skyline Loop trail for around 2.5 miles we reached Myrtle Falls. This is a beautiful area where you’ll cross a bridge over a river with the volcano in the background and a waterfall just before it.
This is my favorite spot along this entire trail to take photos at. It might be hard to get the best photos possible with the sheer amount of people at this location.
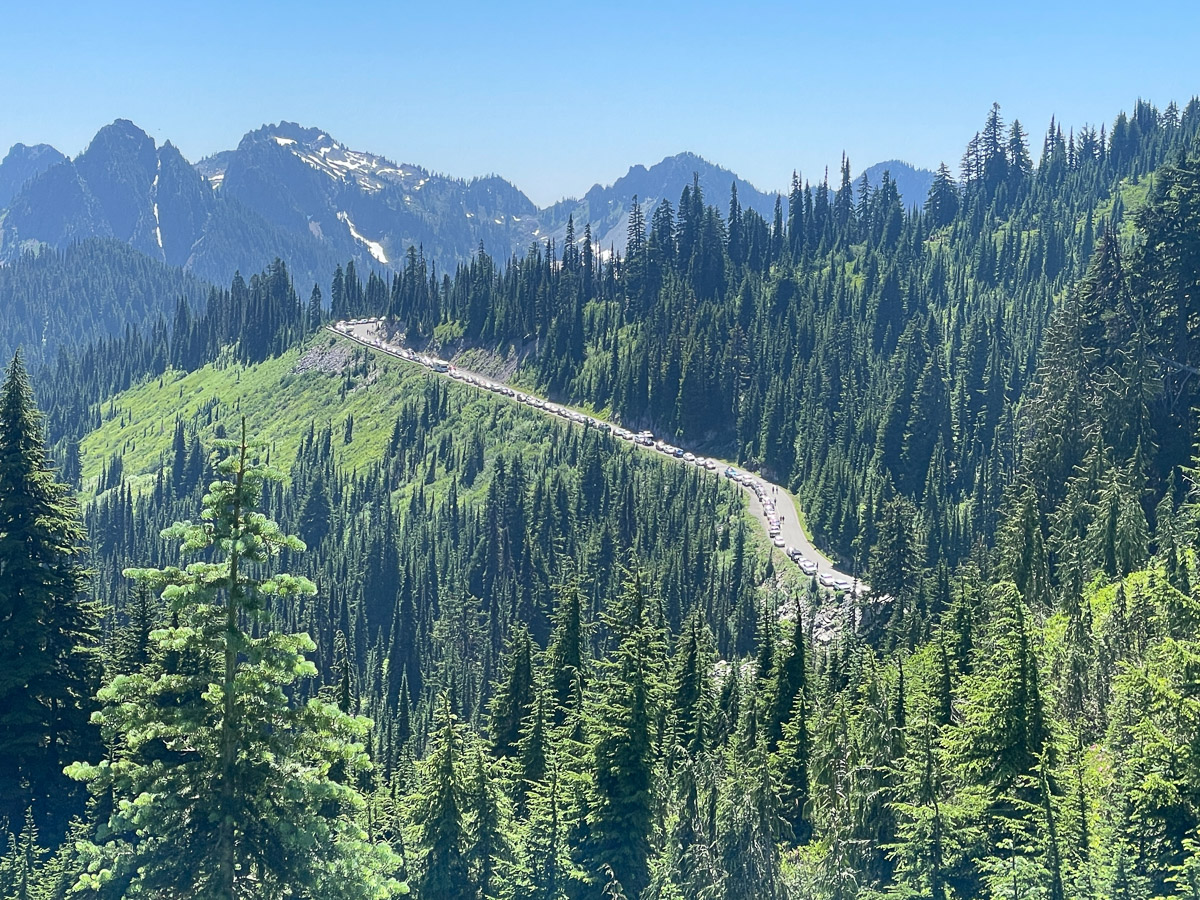
Around this area we also saw one of the other ways to enter the park and cars were lined up parked along the road. You can see that the park continues to get more crowded as the day progresses.
After another half of mile from Myrtle Falls we reached the visitor center.
If these trails are too crowded for you can take the Golden Gate trail which will offer slightly different viewpoints with less people.
Things to Know Before Hiking the Skyline Loop Trail
This trail is straightforward but there are some details that you always want to make sure you know before embarking on any hike like parking, passes, and what to bring.
How’s the Parking Situation?
Parking can be brutal when inside Mt. Rainier National Park, especially when you show up late like the picture above.
If you do decide to show up at the park very early in the morning, then you shouldn’t have any issue finding a parking spot at Henry M. Jackson Memorial Visitor Center or any other parking lot in the park.
What Passes Do You Need?
Entering Mt. Rainier you will need to have a national park pass. You can purchase one at the park if you don’t have one already or you can purchase one online here.
I highly reccommend purchasing the America the Beautiful Pass as it’s one of the best deals around!
- Standard Pass: $15 – $30
- Annual Pass: $50
- America the Beautiful Pass: $80

Food and Restrooms at the Visitor Center
If you’re looking for something to eat or drink before heading on the trail, then the Visitor center has you covered.
There’s a small food spot inside where they sell things like pizza and other delectables. You can also go shopping in the souvneir shop or get a coffee!
Other Hikes in Mt. Rainier National Park
If you’re staying near Mt. Rainier National Park and are planning on doing multiple hikes, then you’re in luck! This park has plenty of them.
Best Time to Hike in Mt. Rainier National Park
Late July is the best time to visit Mt. Rainier National Park if you’re looking for the best opportunity for sunshine. In general, the months of May to September will be great times to hike in the park.
Once it starts to get into the colder months, there is more of a chance for snow and certain parts of the park to be closed or require the need for crampons.

What Gear is Needed?
If this is just a day trip for you, then you’ll want to bring your typical day hiking gear on the Skyline Loop Trail.
- Sun Protection: Hat, sunglasses, sun screen, etc.
- Hiking Boots: Keen hiking boots are one of my favorite and most trusted brands
- Osprey Daypack: There are so many daypacks on the market today and you can’t ever go wrong with an Osprey.
- Atheltic Shirt
- Shorts/Hiking Pants
- Hiking Poles: These might not be 100% necessary but they are always good to have
Can You Camp Here?
You can’t camp along the trails in a national park but there are campgrounds close to some trails that you can pitch a tent at.
You’ll need to reserve a spot before showing up and you can do that on their website.
Some spots might be pricey but I highly suggest doing this as you can fit it so much more in your itinerary.
FAQs
Are Dogs Allowed in Mt. Rainier National Park?
Dogs are not allowed on the Skyline Loop Trail. It doesn’t matter if they are on a leash or not.
Different parks allow different things and its a good idea to look up if they are allowed before visiting.
Is Skyline Loop Difficult?
Hiking Skyline Loop Trail won’t be too difficult for most but there is a decent bit of elevation gain. It also will reach an altitude that might leave you out of breath.
Rattlesnake Ledge and hiking to Serene Lake will be harder as its more elevation gain but you won’t reach the same levels of altitude as you will in Mt. Rainier National Park.
Is Skyline Trail Kid Friendly?
Absolutely! We saw plenty of children hiking along the Skyline trail. If you’re kids are active and in shape, they will have no problems doing this hike.
Best Places to Stay in Seattle
Seattle is a great home base for a lot of hikes in Washington. I suggest staying for a few days here and doing some closer day hikes before venturing out to explore more of Washington.
- CitizenM: These hotels are gaining popularity from their simplistic look but they also have everything you need!
- Courtyard by Seatac: Looking for a hotel near the airport? This is your best bet!
- Silver Cloud Hotel: One of the highest-rated hotels in Seattle and for good reason!
Final Thoughts
Hiking in Mt. Rainier National Park is a dream come true. You see pictures of it but it’s just nothing like actually being inside the park. This trail was perfect for seeing a lot while also being on the easier side. I’d always suggest this hike when talking to others but I’ll always suggest showing up at the park early or even camping!
If you like any of my guides and expertise of the outdoors across the world, you might benefit from me creating a personalized itinierary for you!


